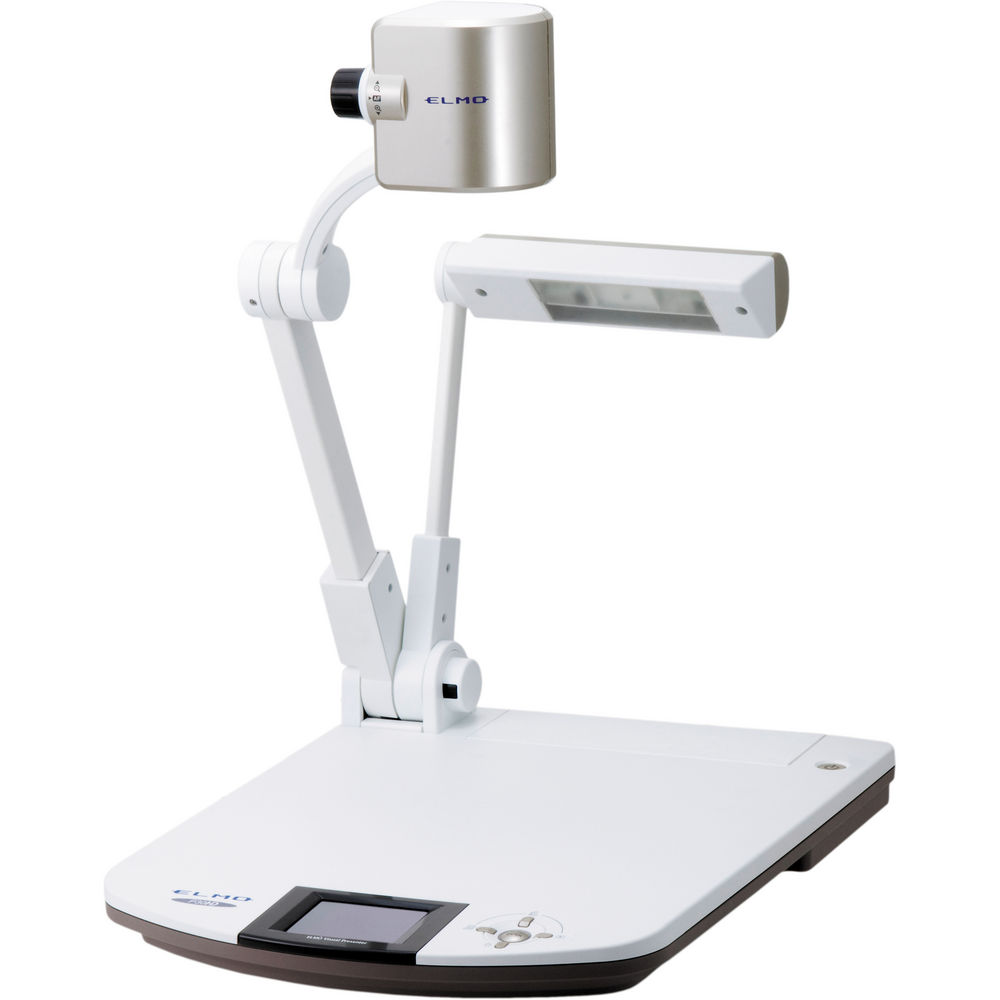
P30HD USB Document Camera
These instructions are for the Elmo P30HD document imaging camera (doc cam). This model of doc cam is in the vast majority of our technology enhanced classrooms.

Installing the application (You only have to do this once)
- Install the ELMO Interactive Toolbox application
Using the Document Camera
Please follow these steps in this exact order to ensure proper functionality:
- Launch the ELMO Interactive Toolbox application
- If you are doing a synchronous online class session and/or a screen recording, ensure your online meeting/recording is running before you launch the ELMO Interactive Toolbox application
- Plug the USB cable coming out of the doc cam into your computer
- Power on the doc cam
- Select the button that looks like a computer with arrows pointing at a small doc cam

- Select the button on the outer ring of controls that looks like a small doc cam

- Select the doc cam in the window that appears and start using the doc cam
- If you wish to switch back and forth, you can close the application by selecting the red “X” and then opening the application again when you wish to use the doc cam again
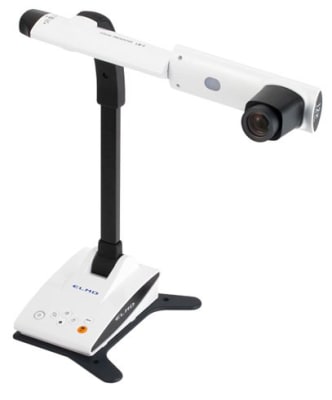
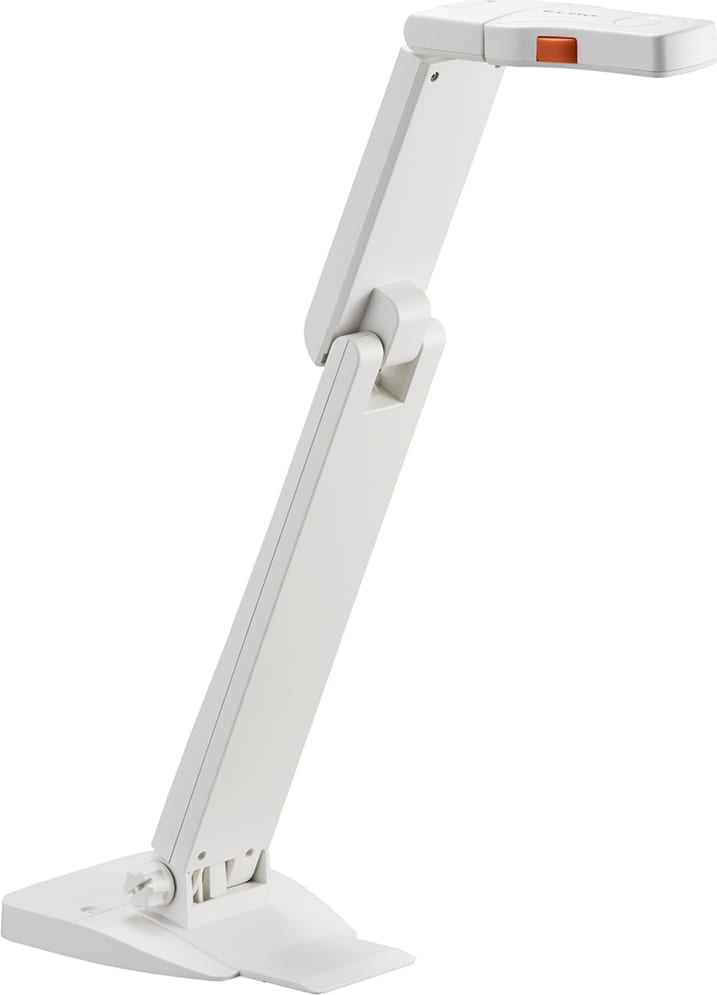
LX-1, TT-12, & OX-1 USB Document Camera
These instructions are for the Elmo LX-1, TT-12, & OX-1, pictured below in the order listed here, document imaging cameras (doc cam). These models of doc cam are available in several spaces across campus, but are far less common than the P30HD.


Using the document camera
- Attach the document camera to your PC using the USB connection
- Select the document camera as your video device in the media app you are currently using (Confirmed to work in Kaltura, MS Teams, WebEx)
- If you do not see the document camera as a selectable camera option, try re-plugging the document camera into your workstation. Additionally, some applications may require a restart to detect new video inputs.